How can I connect my Mailchimp and Constant Contact accounts?
Note: These steps should be followed for both integrations!
- Head into Settings > Integrations
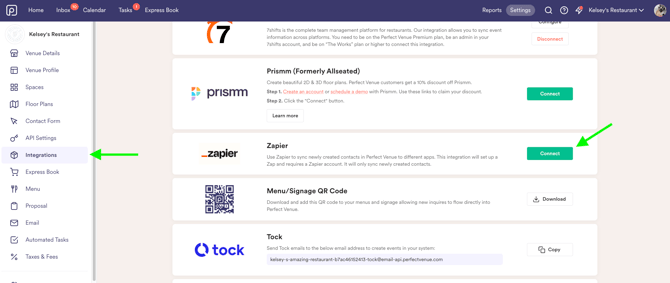
- Click "Use Zap" to be redirected to Zapier's Zap builder
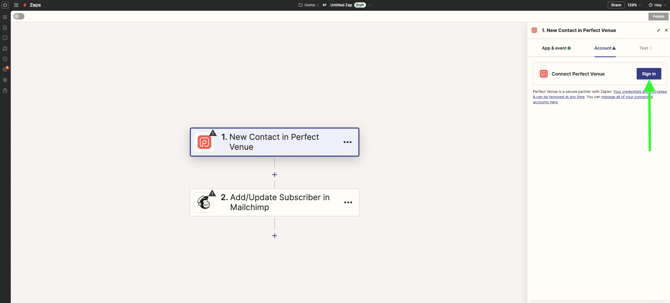
- Click Sign In and input your Perfect Venue login credentials
- Next, head into the Test tab to configure your Perfect Venue workflow step and verify that the Contact fields are accurate
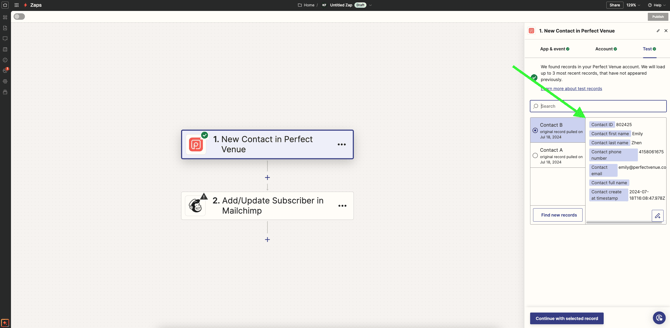
- If everything looks good, Continue with the selected record
- If the information is inaccurate, please reach out to support@perfectvenue.com
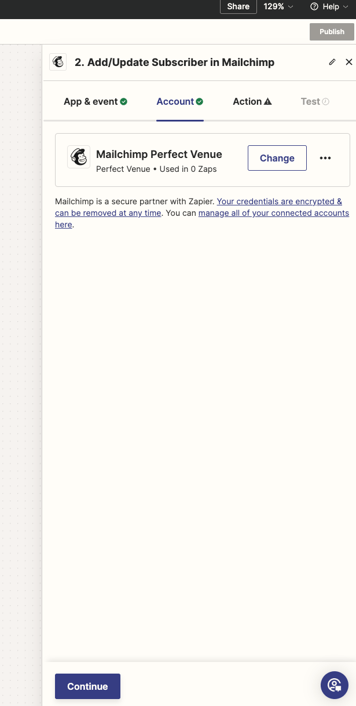
- Next, you're going to connect your Mailchimp or Constant Contact account
- Next click Continue in the bottom right corner to be prompted to log into your Mailchimp or Constant Contact account
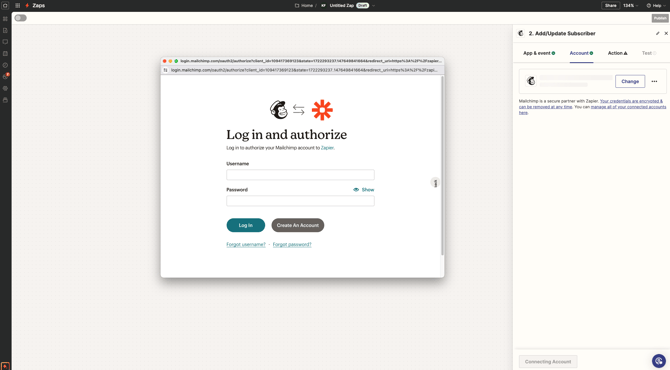
- Enter credentials and click allow to authorize
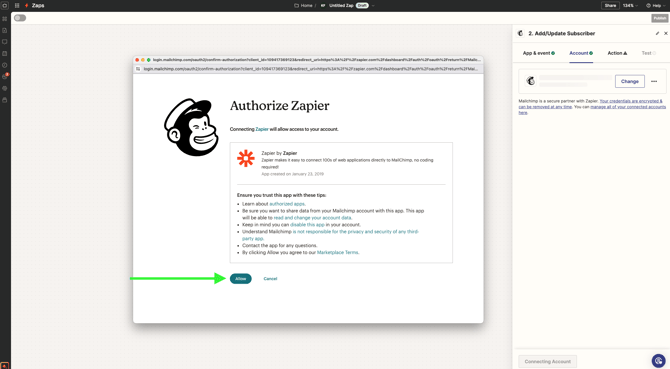
- Now Mailchimp is connected!
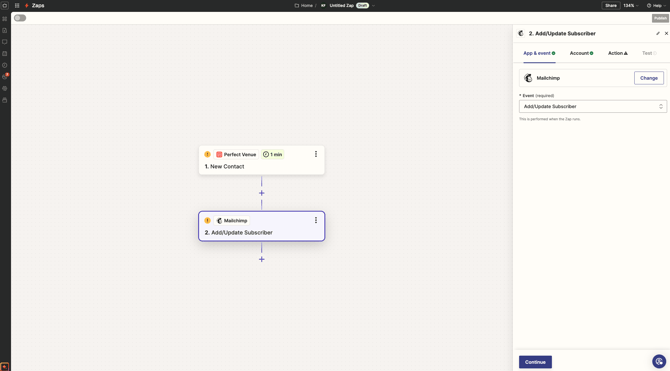
- Next, in the Action tab, you will create the audience that you want your marketing contacts to live in

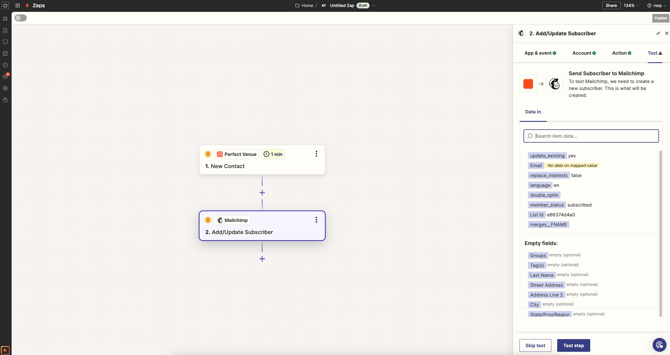
- Ensure that your Status says Subscribed. This will allow emails to be sent to the contact

- Click continue to review your Zap & if everything looks good, Test your step!
- Hooray, it worked! Now you can Publish your Zap!
