What are policies?
Policies are agreements for your business, made up of policy sections. Guests will see the policy on any Proposals you send to them.
What are policy sections?
Policy sections are individual, reusable sections that make up a full policy. Each section represents one theme or topic within your overall venue policy.
For example, a single policy may include sections like:
-
Terms of Service
-
Cancellation & Refund Policy
-
Remaining Balance Policy
-
F&B Minimum Agreement
-
Pets Policy
By organizing policies into sections, you can:
-
Keep policies clean and easy to read
-
Reuse sections across multiple policies
-
Edit specific sections without rewriting your entire policy
Where to Find Policy Sections
To manage policy sections:
-
Go to Settings
-
Select Proposal
-
Scroll to Venue Policy Sections

Here, you’ll see a list of all existing policy sections for your venue.
How to Create a New Policy Section
-
Navigate to Settings → Proposal
-
Scroll to Venue Policy Sections
-
Click Add
-
Enter a name for the section (e.g. “F&B Minimum Agreement”)

-
Add the policy text in the editor
-
Click Save
Adding A Policy
- Head to Settings → Proposal Settings
- Select “Add"

- Click "Add Sections" to select your policy sections.

- Click "Add". You will now see the new policy sections appear below.
- Rearrange the policies using the button on the lefthand side.

- Click "Preview" to preview your policy, with its new sections!


How do I set a policy as default?
On the Professional, Premium, and Enterprise Plans, you can select which of your policies is the default policy for your events under "Venue Policies".

You can also set a policy as the default when editing the policy and its sections.

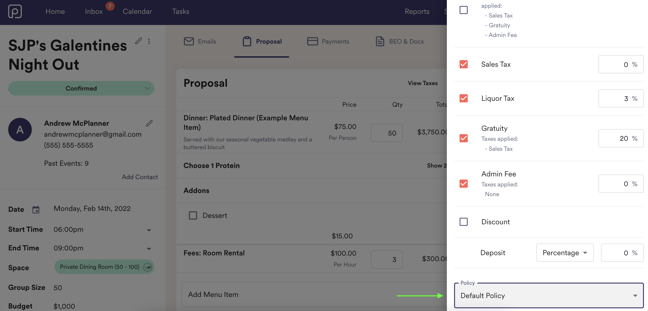
How do I add a different policy to an event?
To apply a different policy for an event:
- Click into the event
- Navigate to the proposal screen,
- Click the “edit” button next to totals
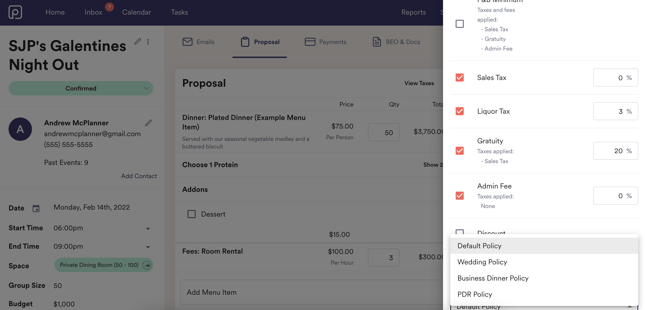
- Once the side bar pulls out on the right, scroll all the way down
- Select the dropdown, and click what policy you would like to apply.
- Hit save!
 Please note: you can only select one policy per event.
How can I edit a policy for an individual event?
On the Professional, Premium Plan, and Enterprise Plans, you can edit policies on a per-event basis.
- Head into the event you'd like to edit the policy of
- Click "Edit" next to the event totals and scroll down to the policy editor.
- Click "Customize Policy for This Event"

- You will now see that this policy is customized for the event. Click "Edit this policy" to start making your changes.

- Make your edits! You can rearrange policy sections, add new sections, and edit their contents.

Note: This will not affect the policies in your proposal settings.
Can I add personalization to my policies?
Yes! If you or your client is requiring specific information that needs a signature, you can add personalized fields to the policy section that will pull from the event details.
- Under "Venue Policy Sections", click on an existing policy or add a new policy
- Select "Personalize"


How do I delete a policy?
Once again, head to Settings → Proposal Settings, and scroll to "Venue Policies". You can delete the policy here, but note that you can't delete your default policy.
If you would like to do so, you need to set another policy as the default, and then proceed with deleting the previous default policy.

Deleting a policy will remove it from every event with that policy in the system. The default policy will be applied to events that had the deleted policy applied.